

LCD Displays & Oled Displays
LCD and OLED display modules to add a screen to your Arduino, ESP32, and Raspberry Pi projects. Choose from character LCDs, graphic OLEDs, and colour TFT displays with I2C or SPI connections. Kunkune stocks display modules from 0.91″ to 2.4″ starting from £0.99.
Showing all 9 resultsSorted by price: high to low
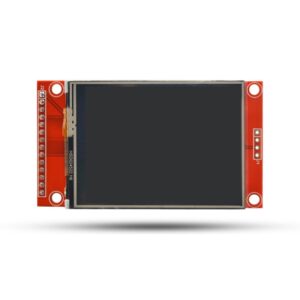
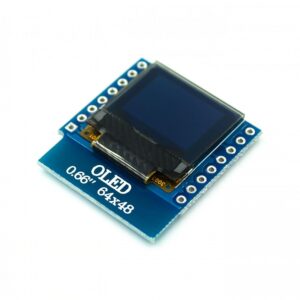
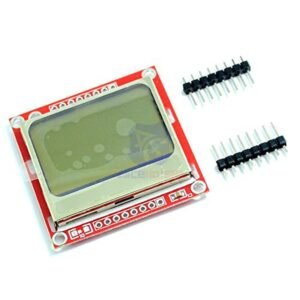
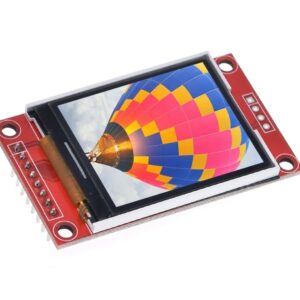
- Price range: £2.90 through £3.90Select options This product has multiple variants. The options may be chosen on the product page
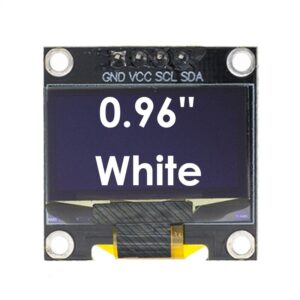 £3.90Select options This product has multiple variants. The options may be chosen on the product page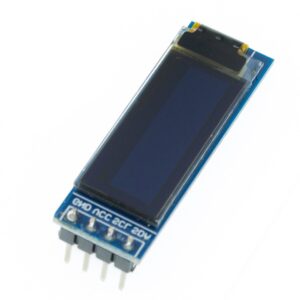
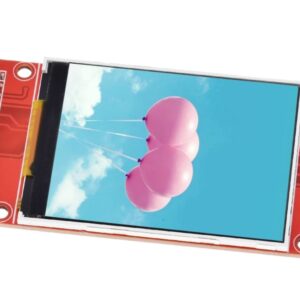
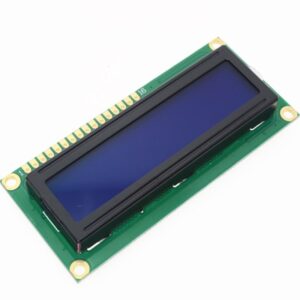
Showing all 9 resultsSorted by price: high to low
What Types of Display Modules Work with Arduino?
Arduino display modules come in three main types: character LCDs, OLED displays, and colour TFT screens. Each type serves a different purpose depending on your project’s needs.
| Display Type | Models at Kunkune | Resolution | Connection | Best For |
|---|---|---|---|---|
| OLED (small) | 0.91″ SSD1306, 0.96″ SSD1306 | 128×32, 128×64 | I2C (4 wires) | Sensor readings, status, compact projects |
| Character LCD | LCD 1602 I2C, LCD 2004 I2C | 16×2 chars, 20×4 chars | I2C (4 wires) | Text output, menus, readings in bright light |
| Colour TFT (small) | 1.8″ ST7735 TFT | 128×160 | SPI | Colour graphics, charts, images |
| Colour TFT (touch) | 2.4″ ILI9341 TFT touch screen | 240×320 | SPI / Shield | Touch interfaces, dashboards, full colour |
| TFT with SD card | 2.4″ LCD PCB Adapter ST7789V | 240×320 | SPI | Image loading from SD card, data logging display |
All display modules in the Kunkune range work with Arduino Uno, Nano, Mega, ESP32, and ESP8266 boards. Prices start from £0.99 for OLED modules.
What Is the Difference Between LCD and OLED Displays?
LCD and OLED displays use different technology to produce an image. This affects brightness, contrast, power consumption, and readability in different lighting conditions.
OLED displays produce their own light. Each pixel lights up individually. This gives true black backgrounds and high contrast. OLED modules like the 0.96″ SSD1306 use very little power when showing mostly black screens. They are ideal for battery-powered projects and low-light environments.
LCD displays use a backlight behind a liquid crystal layer. The backlight stays on constantly, which uses more power but makes the screen easier to read in bright sunlight and workshop lighting. Character LCDs like the 1602 and 2004 are the most popular for displaying text, numbers, and simple menus.
TFT colour displays are a type of LCD with full colour support. The ILI9341 2.4″ TFT shows 262,000 colours at 240×320 resolution. TFT screens are best for projects that need graphics, charts, images, or touch input.
For most Arduino beginner projects, the 0.96″ OLED is the best starting point. It costs £0.99, connects with just 4 wires over I2C, and works with the free Adafruit SSD1306 library.
Which Display Module Is Best for Arduino Beginners?
The 0.96″ OLED display module (SSD1306, 128×64 resolution) is the best display for Arduino beginners. It connects to any Arduino board using just 4 wires: VCC, GND, SDA, and SCL over the I2C protocol.
The I2C connection means you only use 2 pins on your Arduino for data. This leaves the rest of your pins free for sensors, buttons, and other components. Multiple I2C devices can share the same two wires, so your OLED display and an I2C sensor like the BMP280 can run on the same bus.
The Adafruit SSD1306 and U8g2 libraries provide ready-made functions for drawing text, numbers, shapes, and simple graphics. Hundreds of free Arduino tutorials cover this exact display.
If you need to display more text, the LCD 1602 with I2C backpack shows 2 rows of 16 characters. The LCD 2004 shows 4 rows of 20 characters. Both use the same 4-wire I2C connection.
To connect a display to your board, see our Arduino-compatible boards or ESP32 boards.
Do These Displays Work with ESP32 and Raspberry Pi?
Yes. Every display module in the Kunkune range works with Arduino, ESP32, ESP8266, and Raspberry Pi boards. The I2C and SPI connections are the same across all platforms.
ESP32 boards are a popular choice for display projects because they have built-in WiFi. An ESP32 paired with a TFT display can show live data from the internet, weather information, or a home automation dashboard. The TFT_eSPI library is optimised for ESP32 and delivers smooth graphics on ILI9341 and ST7789 displays.
The ESP32 CYD (Cheap Yellow Display) combines an ESP32 board with a built-in 2.8″ TFT touch screen in one unit. This is ideal for standalone IoT dashboards and smart home controllers.
Raspberry Pi projects use Python libraries like Luma.OLED and Luma.LCD for the same OLED and LCD modules. The I2C and SPI wiring is identical to Arduino.
For ESP32 display projects, browse our ESP32 and ESP8266 boards. For sensor data to display on screen, see our sensor range.
How Much Do Arduino Display Modules Cost?
Arduino display modules at Kunkune start from £0.99 for a 0.91″ OLED module. The popular 0.96″ OLED costs from £2.90. Character LCDs with I2C backpack start from £3.90. Colour TFT displays range from £4.90 to £9.90.
Small OLED modules are some of the cheapest display options for any microcontroller project. A 0.96″ SSD1306 OLED at £2.90 gives you a 128×64 pixel screen with I2C connection and library support. No additional components are needed.
All display modules ship from the UK. Orders are dispatched within 1 working day with delivery in 1–2 days. Free shipping on orders over £25. No minimum order. Every module is backed by a 12-month guarantee and 60-day returns.
What Can I Build with Arduino Display Modules?
Display modules turn raw sensor data into something you can read and act on. Most Arduino projects benefit from adding a screen.
Weather station — A BMP280 pressure sensor and DHT22 temperature sensor feed data to a 0.96″ OLED display. The screen shows temperature, humidity, and barometric pressure in real time. See our weather station build guide.
IoT dashboard — An ESP32 with a 2.4″ TFT touch screen pulls data from WiFi and displays it on a colour screen. Use it as a smart home panel, clock, or notification display.
Digital thermometer — A DS18B20 temperature sensor and a 16×2 character LCD create a standalone thermometer for a greenhouse, aquarium, or workshop.
Menu system — A rotary encoder and a 20×4 character LCD let you build a scrollable menu interface for selecting options, setting parameters, or controlling devices.
For more project ideas, see our 10 best Arduino project ideas for beginners. To pair a display with sensors, browse our sensor range. For boards to run your display project, see our Arduino boards or ESP32 boards.