
Did you know that proper soldering iron care and storage can extend your tip’s life by up to 500%? 🔧 That means instead of replacing tips every few months, you could use the same one for years. Whether you’re a weekend hobbyist or a professional electronics technician, taking care of your soldering iron isn’t just about saving money—it’s about getting better results every single time.
Think about it: How frustrating is it when your iron won’t heat properly, or when your solder joints look messy and unprofessional? Most of these problems come down to one thing: poor maintenance habits.
In this guide, you’ll discover the exact steps professionals use to keep their soldering irons performing like new. We’ll cover everything from daily maintenance routines to long-term storage strategies that protect your investment. Ready to transform your soldering experience? Let’s dive in! 🚀
Understanding Your Soldering Iron: The Foundation of Good Care
Before we jump into care techniques, you need to understand what makes your soldering iron tick. Why does this matter? Because knowing how your tool works helps you take better care of it.
Your soldering iron tip isn’t just a piece of metal. It’s actually a sophisticated component with multiple layers. Most tips have a copper core (for excellent heat conduction) covered with iron plating (for durability) and often nickel or chrome plating on top (for protection).
Here’s the problem: When these protective layers get damaged, your tip starts failing fast. The copper core gets exposed to solder, which literally dissolves it away. It’s like watching your expensive tip disappear before your eyes!
Oxidation is your biggest enemy. When your tip gets hot and touches air, it forms a dark, crusty layer that blocks heat transfer. Have you ever noticed your iron struggling to melt solder even though it feels hot? That’s oxidation at work.
Watch for these warning signs:
- Dark, black coloring on the tip
- Solder that won’t stick properly (called “dewetting”)
- Longer heating times than usual
- Rough or pitted tip surface
- Poor heat transfer during soldering
The good news? All of these problems are preventable with the right soldering iron care and storage habits. Most people think tip replacement is just part of the cost of soldering. But professionals know better—they make their tips last for thousands of joints!
Action step: Take a close look at your current tip right now. What condition is it in? This will help you understand which techniques will benefit you most.
Daily Maintenance Essentials: Your Iron’s Daily Vitamin
Think of daily maintenance like brushing your teeth—small habits that prevent big problems later. What if I told you that spending just 2 minutes before and after each soldering session could triple your tip’s lifespan?
Pre-Use Preparation Checklist
Before you even plug in your iron, establish this routine:
1. Visual Inspection (30 seconds) Check your tip for any obvious damage, excessive oxidation, or loose connections. If you spot problems early, they’re easier to fix.
2. Clean Assembly Make sure your iron holder is clean and your cleaning sponge (if using one) is slightly damp—not soaking wet! Excess water causes thermal shock that cracks tips.
3. Heat-Up Procedure Turn on your iron and let it reach temperature. Here’s a professional secret: As soon as it’s hot enough to melt solder, apply a small amount to coat the tip. This prevents oxidation during the initial heating phase.
During-Use Care Practices
Temperature is everything. Use the lowest temperature that still gets the job done effectively. For most electronics work:
- 60/40 solder: 600-650°F (315-340°C)
- Lead-free solder: 700-750°F (370-400°C)
Clean frequently, but smartly. Every 5-10 joints, wipe your tip clean and re-tin it. This might seem excessive, but it prevents oxidation buildup that becomes harder to remove later.
Avoid these common mistakes:
- Never use files, sandpaper, or abrasive cleaners on your tip
- Don’t apply excessive pressure when soldering
- Never let your iron sit dirty in the holder
Post-Use Procedures
This is where most people mess up their soldering iron care and storage routine. What you do in the last 60 seconds matters more than everything else combined.
The Professional Shutdown Sequence:
- Clean the tip one final time
- Apply a generous coating of solder (this protects against oxidation)
- Turn off the iron
- Let it cool completely before storing
Personal story time: I used to just turn off my iron and walk away. My tips lasted maybe 3 months. Once I started following this shutdown sequence religiously, my current tip has been going strong for over 2 years!
Cleaning Techniques That Actually Work
Cleaning your soldering iron tip properly is an art form. But here’s what nobody tells you: The cleaning method you choose can either extend your tip’s life or destroy it quickly.
The Right Tools for the Job
Brass wool is your best friend. Unlike steel wool or abrasive pads, brass won’t damage your tip’s plating. It’s soft enough to be gentle but effective enough to remove oxidation.
Damp sponges work, but with conditions. If you use a sponge, it must be:
- Barely damp (not wet!)
- Made from natural materials (no synthetic sponges)
- Sulfur-free (sulfur causes corrosion)
- Cleaned regularly to prevent contamination
Temperature matters during cleaning. Clean your tip when it’s hot—that’s when contaminants come off easiest. But avoid the temptation to crank up the heat “for better cleaning.” Higher temperatures actually make oxidation worse.
Step-by-Step Cleaning Process
- Heat your iron to working temperature
- Wipe gently across brass wool or damp sponge
- Apply solder immediately after cleaning (within 5 seconds!)
- Check the result—your tip should be shiny and solder should flow smoothly

YIHUA 928D-IV USB-C Cordless Soldering Iron 60W PID Temperature Control
-25% Original price was: £59.00.£44.50Current price is: £44.50.Add to basket Quick View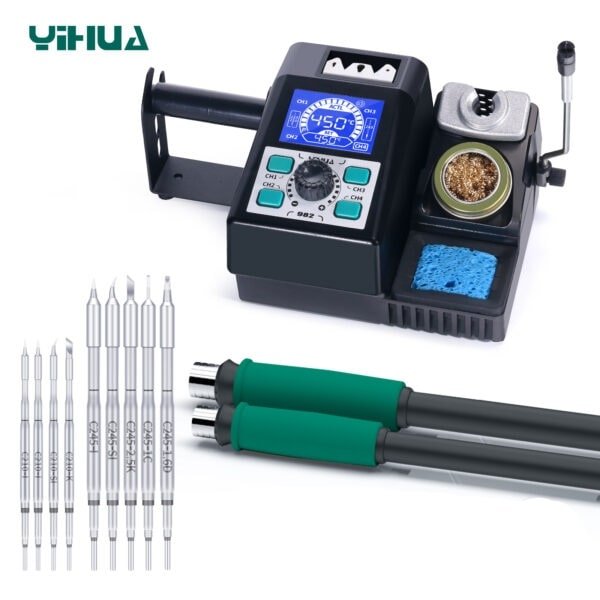
YIHUA 982 Dual-Handle Soldering Station C210/C245 - 40W-120W
-24% Original price was: £89.00.£68.00Current price is: £68.00.Add to basket Quick View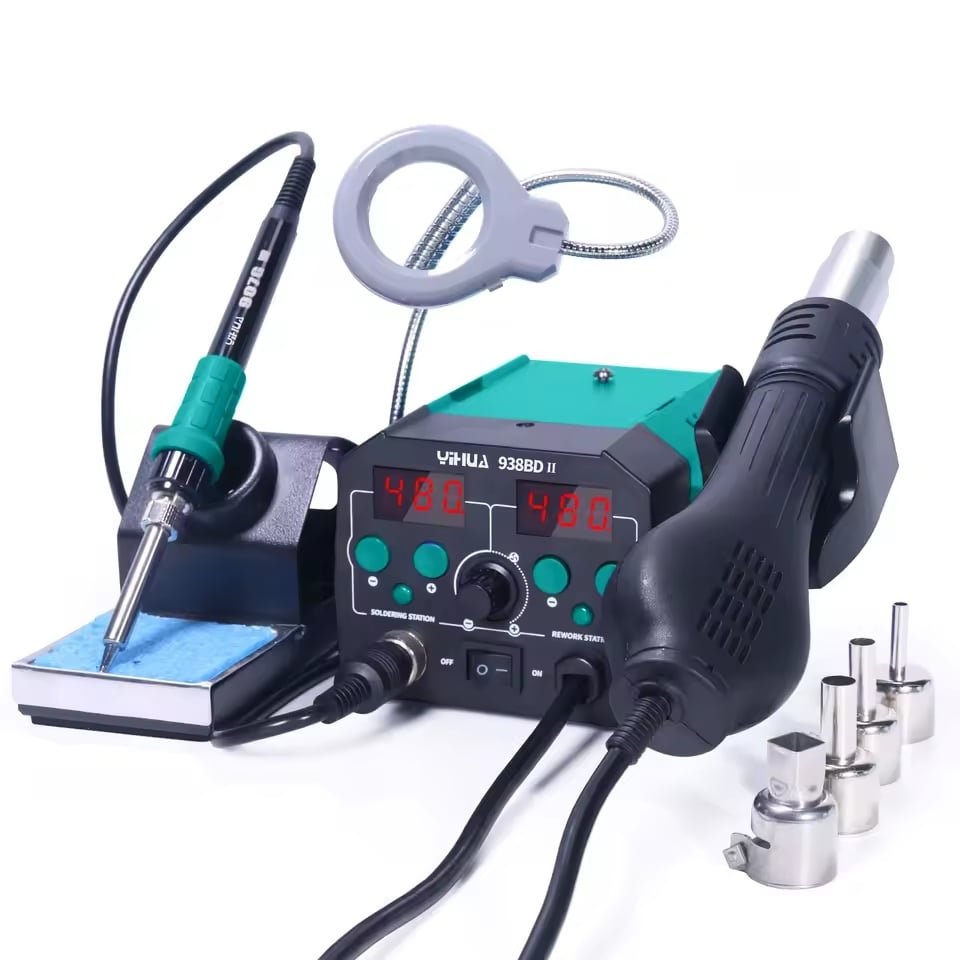
YIHUA 938BD-II 740W Digital Soldering Station Hot Air Rework + LED
-18% Original price was: £79.00.£64.50Current price is: £64.50.Add to basket Quick View
300W Heavy Duty Digital Soldering Station
-24% Original price was: £290.00.£220.00Current price is: £220.00.Add to basket Quick View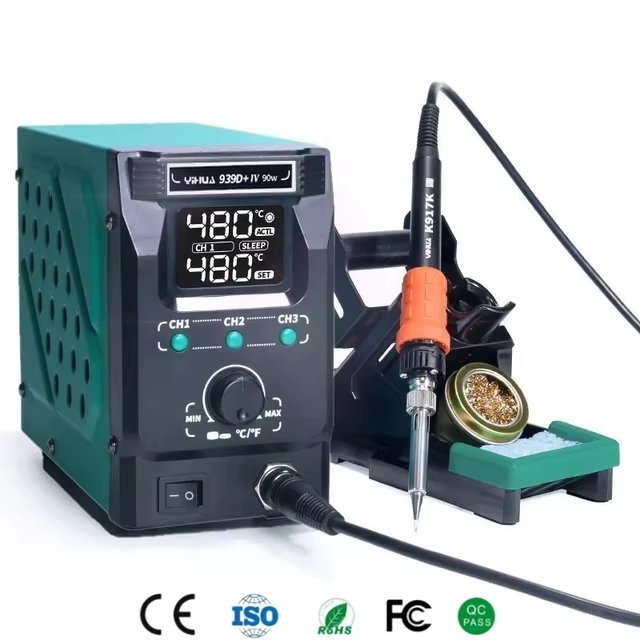
YIHUA 939D+ IV 90W Digital Soldering Station 200-480℃ LCD Display
-20% Original price was: £99.00.£79.00Current price is: £79.00.Add to basket Quick View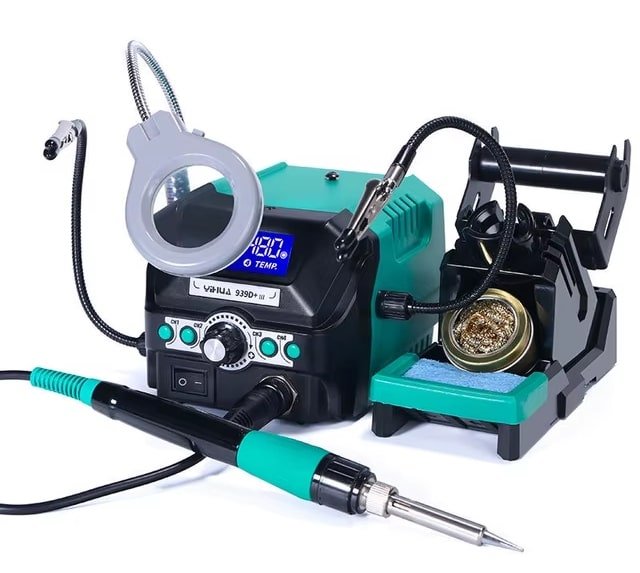
YIHUA 939D+ III EVO Soldering Stations Best for Beginners
-12% Original price was: £79.00.£69.50Current price is: £69.50.Add to basket Quick View
YIHUA 938D Hot Tweezers Soldering Station SMD - 120W PID Control
-51% Original price was: £79.00.£39.00Current price is: £39.00.Add to basket Quick View
YIHUA 926LED-IV Digital Soldering Station 90-480°C PID Control
-22% Original price was: £59.00.£46.00Current price is: £46.00.Add to basket Quick View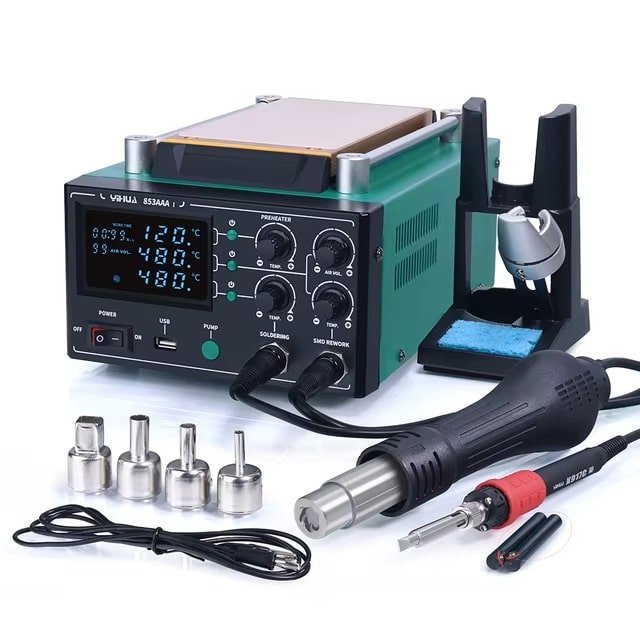
YIHUA 853AAA-I Digital 3-in-1 Hot Air Rework Station 1180W SMD
-32% Original price was: £199.00.£135.00Current price is: £135.00.Add to basket Quick View
YIHUA 948DQ-I Fume Extractor Activated Carbon Filter + Helping Hands
-37% Original price was: £46.00.£29.00Current price is: £29.00.Add to basket Quick View
YIHUA 937D+ Digital Soldering Station 75W LED Display Anti-Static
-34% Original price was: £59.00.£39.00Current price is: £39.00.Add to basket Quick View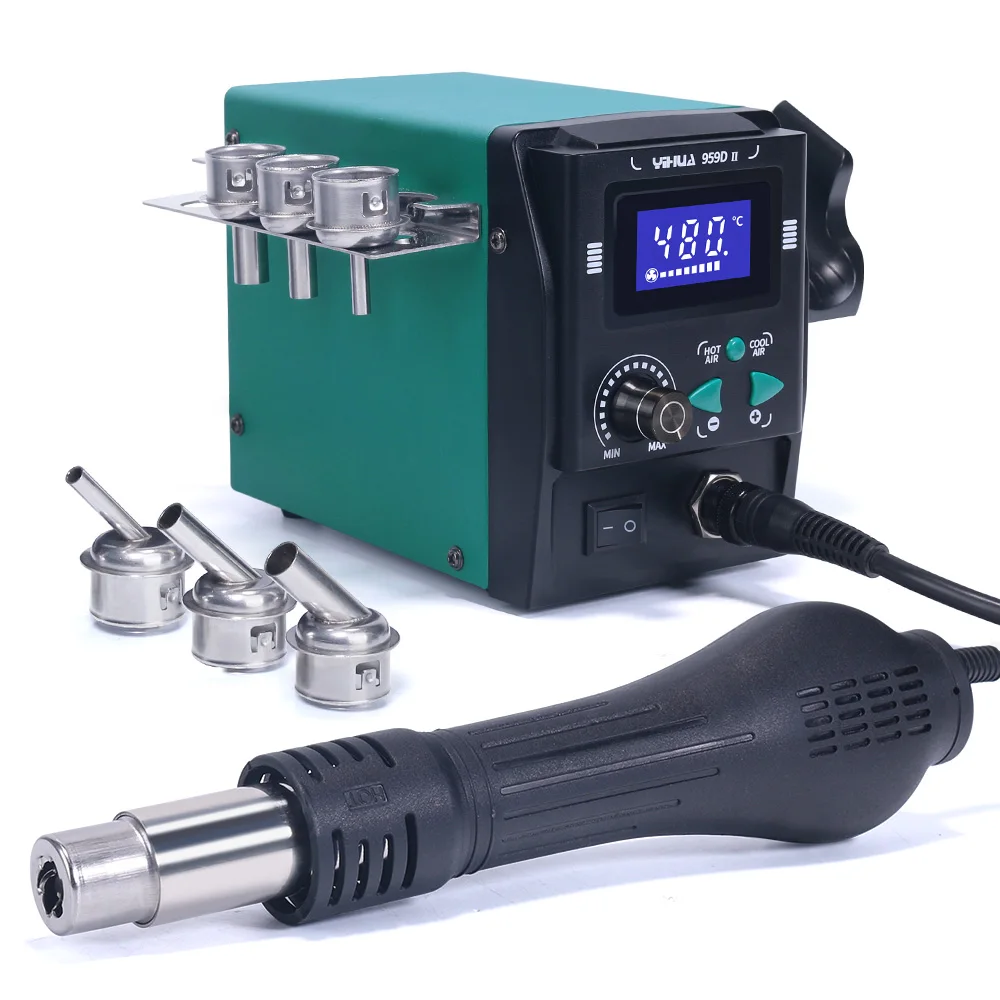
Advanced cleaning for stubborn oxidation: Sometimes normal cleaning isn’t enough. For heavily oxidized tips, use tip activator (a paste containing mild abrasives). Dip the hot tip in the activator, move it around until shiny, then tin immediately.
What about flux for cleaning? Some people swear by it, but be careful. Flux is acidic and can corrode your tip if left on too long. If you use flux for cleaning, make sure to clean it off afterward and tin the tip.
The Art of Tinning: Your Secret Weapon
Tinning is like applying sunscreen—it protects your tip from the harmful effects of oxidation. But most people do it wrong, wasting solder and actually making their tips worse.
Why Tinning Works
When you coat your tip with a thin layer of solder, you’re creating a barrier between the iron plating and oxygen. No oxygen contact means no oxidation. It’s that simple!
Think of it this way: Would you leave bare metal outside in the rain? Of course not! Your soldering tip faces the same challenge every time it heats up in air.
The Perfect Tinning Technique
Step 1: Start with a clean tip You can’t tin over dirt or oxidation. Clean first, always.
Step 2: Apply solder to the heated tip Touch your solder wire to the tip and let it flow around the working surface. You want a thin, even coating—not a big blob!
Step 3: Spread it evenly Gently wipe the tip on your cleaning surface to distribute the solder evenly. The tip should look shiny and silver.
When to tin:
- Before first use with a new tip
- Every 10-15 joints during extended work
- Immediately after cleaning
- Before turning off your iron
- Anytime the tip looks dull or dark
Pro tip: Use high-quality solder for tinning. Cheap solder contains impurities that actually harm your tip over time. It’s worth spending a few extra dollars on good 60/40 or 63/37 solder.
Storage Solutions and Best Practices: Protecting Your Investment
Here’s where soldering iron care and storage really pays off. How you store your iron determines whether it lasts months or years. Most people just shove their iron in a drawer and wonder why it doesn’t work well next time!
Short-term vs. Long-term Storage
Short-term storage (daily use):
- Always use a proper iron stand
- Keep the tip tinned
- Store in a dry location
- Avoid temperature extremes
Long-term storage (weeks or months): This requires extra steps because you’re fighting long-term oxidation and environmental factors.
The Professional Long-term Storage Process:
- Clean the tip thoroughly
- Apply a generous coating of high-quality solder
- Let the iron cool completely
- Remove the tip and store it separately (if possible)
- Store both iron and tip in a dry, temperature-stable environment
Environmental Considerations
Humidity is a silent killer. High humidity accelerates oxidation, even on tinned tips. Did you know that storing your iron in a bathroom or basement can cut its lifespan in half?
Ideal storage conditions:
- Temperature: 60-75°F (15-24°C)
- Humidity: Below 50%
- Away from corrosive chemicals
- Protected from physical damage
Budget-friendly humidity control: You don’t need expensive equipment. A simple desiccant pack (like those in vitamin bottles) in your toolbox can make a huge difference. Replace it every few months.
Safety During Storage
Fire safety matters. Even turned-off irons can be fire hazards if stored improperly. Never store a hot iron, and always ensure it’s completely cool before putting it away.
Electrical safety considerations:
- Unplug the iron before storage
- Protect the cord from damage
- Store in a location where the iron won’t be dropped or damaged
Workspace Organization Tips
Create a dedicated soldering station. Having everything in its place makes good maintenance habits easier to follow. Here’s what works:
- Dedicated iron stand with cleaning tools nearby
- Storage for different tips organized by type
- Solder and flux within easy reach
- Good lighting and ventilation
- Non-flammable work surface
Action step: Set up a “maintenance station” next to your regular work area. Keep cleaning supplies, tip activator, and storage containers all in one spot. This makes it easier to follow good maintenance habits.
YIHUA 928D-IV USB-C Cordless Soldering Iron 60W PID Temperature Control
-25% Original price was: £59.00.£44.50Current price is: £44.50.Add to basket Quick View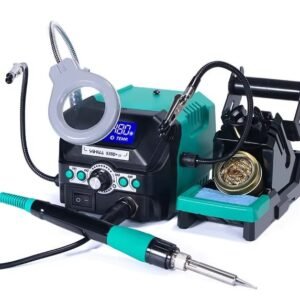
YIHUA 939D+ III EVO Soldering Stations Best for Beginners
-12% Original price was: £79.00.£69.50Current price is: £69.50.Add to basket Quick View
YIHUA 938D Hot Tweezers Soldering Station SMD - 120W PID Control
-51% Original price was: £79.00.£39.00Current price is: £39.00.Add to basket Quick View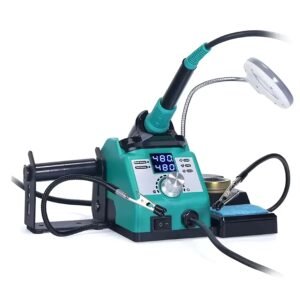
YIHUA 926LED-IV Digital Soldering Station 90-480°C PID Control
-22% Original price was: £59.00.£46.00Current price is: £46.00.Add to basket Quick View
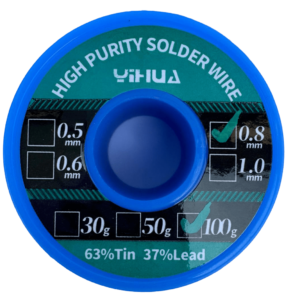
YIHUA 63/37 Eutectic Solder Wire Tin-Lead 100g High Purity
-30% Original price was: £9.90.£6.90Current price is: £6.90.Select options This product has multiple variants. The options may be chosen on the product page Quick View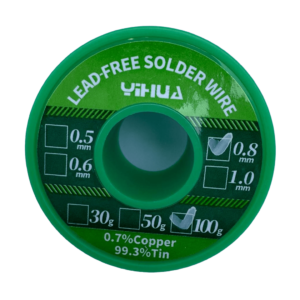
YIHUA Lead-Free Solder Wire 100g Sn99.3 Cu0.7 - 0.8mm/1mm Rosin Core
-42% Original price was: £11.90.£6.90Current price is: £6.90.Select options This product has multiple variants. The options may be chosen on the product page Quick View
YIHUA 937D+ Digital Soldering Station 75W LED Display Anti-Static
-34% Original price was: £59.00.£39.00Current price is: £39.00.Add to basket Quick View
YIHUA 928D-I Digital Soldering Iron 65W LED Display - UK Plug
-26% Original price was: £22.90.£16.90Current price is: £16.90.Add to basket Quick View
YIHUA 929D-V Electric Desoldering Pump 30W - One-Handed Operation
-42% Original price was: £34.50.£19.90Current price is: £19.90.Add to basket Quick View
60W Soldering Iron Kit UK Plug - Adjustable Temperature Control
-12% Original price was: £16.90.£14.90Current price is: £14.90.Add to basket Quick View
FNIRSI HS-01 USB-C Soldering Iron PD 65W Smart Temperature Control
-13% Price range: £34.90 through £44.90Select options This product has multiple variants. The options may be chosen on the product page Quick ViewTroubleshooting Common Problems: When Things Go Wrong
Even with perfect soldering iron care and storage, problems sometimes happen. The key is catching them early and knowing how to fix them properly.
Oxidation Recovery
Problem: Your tip is dark and crusty, and solder won’t stick.
Solution process:
- Heat the iron to normal working temperature
- Use tip activator or very fine steel wool (as a last resort)
- Work gently—you’re trying to remove oxidation, not the plating
- Once you see shiny metal, tin immediately
- If this doesn’t work, the tip may be beyond recovery
Poor Heat Transfer Issues
Problem: Your iron feels hot but won’t melt solder effectively.
Common causes and fixes:
- Dirty tip: Clean and tin properly
- Wrong temperature: Check your settings and calibration
- Worn tip: If the plating is gone, replacement is your only option
- Poor contact: Make sure the tip is properly seated in the iron
When to Replace Your Tip
Signs it’s time for a new tip:
- Visible copper showing through the plating
- Pits or holes in the tip surface
- Inability to hold tinning even after proper cleaning
- Significant shape changes from wear
Money-saving tip: Buy tips in bulk when you find a good deal. Properly stored tips have an indefinite shelf life, so stocking up during sales makes sense.
Advanced Care Tips: Professional-Level Maintenance
Ready to take your soldering iron care and storage to the next level? These advanced techniques separate hobbyists from professionals.
Professional-Grade Maintenance
Tip rotation system: Professional shops often use multiple tips, rotating them to extend overall lifespan. While one tip is in use, others are stored properly, reducing individual wear.
Temperature calibration: Use a tip thermometer to verify your iron’s actual temperature. Many irons run hotter or cooler than their settings indicate.
Preventive replacement: Don’t wait until tips fail completely. Replace them when performance starts declining to maintain consistent work quality.
Extending Tip Lifespan
Use the largest tip possible for each job. Larger tips have thicker plating and distribute heat better, lasting longer than fine-point tips.
Match your solder to your work. Using high-quality, flux-core solder reduces the need for aggressive cleaning and extends tip life.
Consider your technique. Dragging or scrubbing motions wear tips faster than proper heat-transfer techniques.
Cost-Saving Strategies
Calculate your true costs. Good tips might cost more upfront, but they last longer and perform better. Cheap tips often cost more in the long run.
Bulk purchasing: Buy tips in multipacks when possible. The per-unit cost drops significantly.
Proper storage pays off: The cost of proper storage materials is tiny compared to frequent tip replacement.
Your Action Plan: Making It All Work
Let’s wrap up with a practical, actionable conclusion that you can implement immediately. Remember: knowledge without action is worthless.
Quick Reference Maintenance Checklist
Before each session: ✅ Inspect tip condition ✅ Heat iron and tin immediately ✅ Check cleaning tools are ready
During work: ✅ Clean and re-tin every 10-15 joints ✅ Use lowest effective temperature ✅ Store in stand when not actively soldering
After each session: ✅ Final cleaning ✅ Heavy tinning for protection ✅ Power off and cool completely
Weekly maintenance: ✅ Deep clean all tools ✅ Check storage environment ✅ Rotate tips if using multiple
The Bottom Line
Proper soldering iron care and storage isn’t complicated, but it does require consistency. The techniques in this guide can extend your tip life by 300-500%, saving you significant money while improving your soldering results.
Start with these three habits:
- Always tin your tip before and after use
- Use the lowest effective temperature for your work
- Store properly in a dry, protected environment
Your next step? Pick one technique from this guide and implement it today. Build the habit over the next week, then add another technique. Before you know it, professional-level maintenance will become second nature.
Remember: Every professional started exactly where you are now. The difference is they developed good habits early and stuck with them. Your future self will thank you for starting today! 🎯
Have you tried any of these techniques before? What’s been your biggest challenge with soldering iron maintenance? The journey to better soldering starts with a single step—and proper care is the foundation of everything else you’ll build.